Welcome to Part Two of my Beginners Guide to Amazon FBA Selling!
If you missed Part One, be sure to check that out first.
By now, hopefully you have your account set up. Maybe you’ve even purchased items that pass all the profitability and sales rank check points. You are ready to send in your inventory and make your first sale!
If you are wondering just how exactly you do that, this is the guide for you. I will break down how to list an item, and more importantly, what happens after you send your inventory in to be sold via Amazon FBA.
If you are still struggling to find profitable inventory, save time and join the Retail Arbitrage BOLO Group! We share items that are found in stores and pass all the profitability and sales rank check points so you can spend less time scanning, and more time watching profitable items sell!

Listing Your Amazon FBA Inventory:
Listing your items for sale is pretty simple. Once you have the items UPC or ASIN (Amazon assigned number for that specific product page), you can create your listing right from your seller central account.
A common question I’m asked is do I ever create the listing from scratch. I have in the past, and it doesn’t always work out well because the item will have no rank and so it will sell slower in the beginning.
I have been burned a few times and it takes a bit of work to take the photos, create the content for the page, etc. So I don’t really do this anymore. I sell my items on existing product pages that have good ranks so I know the product will sell well.
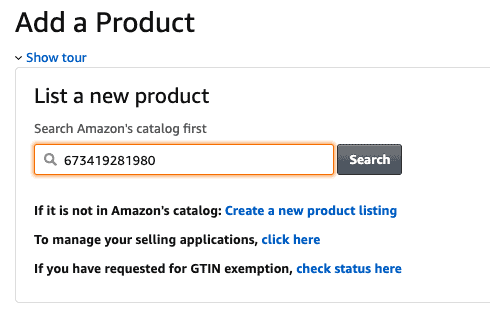
To List An Item:
• In Seller Central go to Inventory > Add A Product
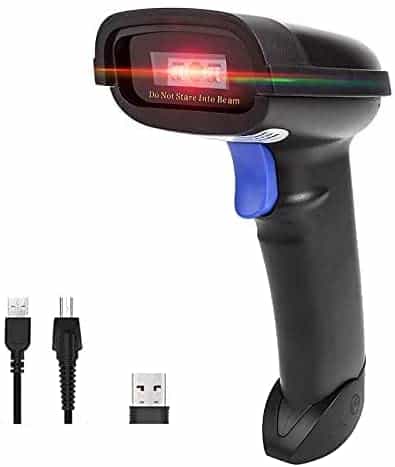
• Scan UPC (I use this USB Scanner) or manually enter the UPC/ASIN/Product Name
• Select the listing you want to sell on and hit “Sell Yours”
• Input your condition (I only sell in NEW), your price, and optional SKU.
• Click Save & Finish. You might get two more questions after this, just answer them and hit continue.
From here, you will be asked which shipment plan you want to add it to. Select the one you are currently on or start a new one and continue with your next item, following the same steps.
Pricing Your Amazon FBA Inventory:
When I purchase my items in store, I make sure that I will be making a profit at that current selling price on Amazon. When I send my items in however, I price them a little bit higher. The reason I do this is because the prices could go up as my inventory is on the way to Amazon and I don’t want to lose out if it does happen!
Say you buy an item and it’s priced at $20 when you list it. As your product is enroute, that $20 seller sold out and the next seller is priced at $24 so now the item is selling for $24 – $4 more dollars of profit for you! But only if you have your item priced right. If you have it priced at $20 then when your stock hits you will be the lowest seller and your item go for $20. You will be missing that extra profit you could have made!
I like to price my inventory a little bit high and I also watch the prices as it’s enroute, adjusting before the stock even gets to the warehouse most times. To make sure you are getting the most profit on your items, make sure you are looking at your prices often.
How I Make My Amazon FBA SKUs:
In the beginning I didn’t create my own SKUs when listing a product, you don’t really have to. But, I learned how and why to, and IT IS A LIFESAVER. Here is how I create mine now, and why.
First, the SKU name you give it will never be seen by customers, it’s only for your purposes. It shows up on your Manage Inventory page, which is where it is most helpful to me.
I format my SKUs as such: TGT1499BE2999. TGT is my abbreviation for the store I purchased it from. 1499 is the price I paid for it, so here it was $14.99. BE is ‘Break Even’ followed by the break even price. In this example it’s $29.99. That’s the lowest price I would be able to sell it for and break even after fees and cost of inventory.
This makes your daily price checks and adjustments SO MUCH EASIER! Before I did this, I used to have to go back and forth to the product page and input the price and calculate the price I could list it at and then go back to my inventory and adjust.
This is just ONE of the MANY reasons I love the Beginner FBA Course. Little tips like this have saved me so much time and money.
Packing Your Amazon FBA Shipments:
By now you have your inventory listed and Amazon has created the shipments for you. On your shipping plan, Amazon will tell you what items to send where. Unfortunately, you don’t have much control over this part. They send the stock where they need it to go.
You can pack your items however you wish. Amazon will tell you what needs to be polybagged or bubble wrapped. For boxes, I buy mine from Walmart.
For a full list of all the supplies I use, check out my Amazon page here.
I use my best judgement to make the items fit without the possibility of them getting damaged or spilling on the way. So liquids (lotions, shampoos, etc) I put in polybags. I put the more square, heavier items on the bottom and place light items on the top.
If there is room left in the box I will cut it down to the right size so it’s a tighter fit. Or, I will crunch up paper bags, packing bubbles I have around from other shipments I’ve received. Or, I use the packing paper I purchased for just this reason. The roll I purchased I’ve had for two years now, so it lasts a long time.
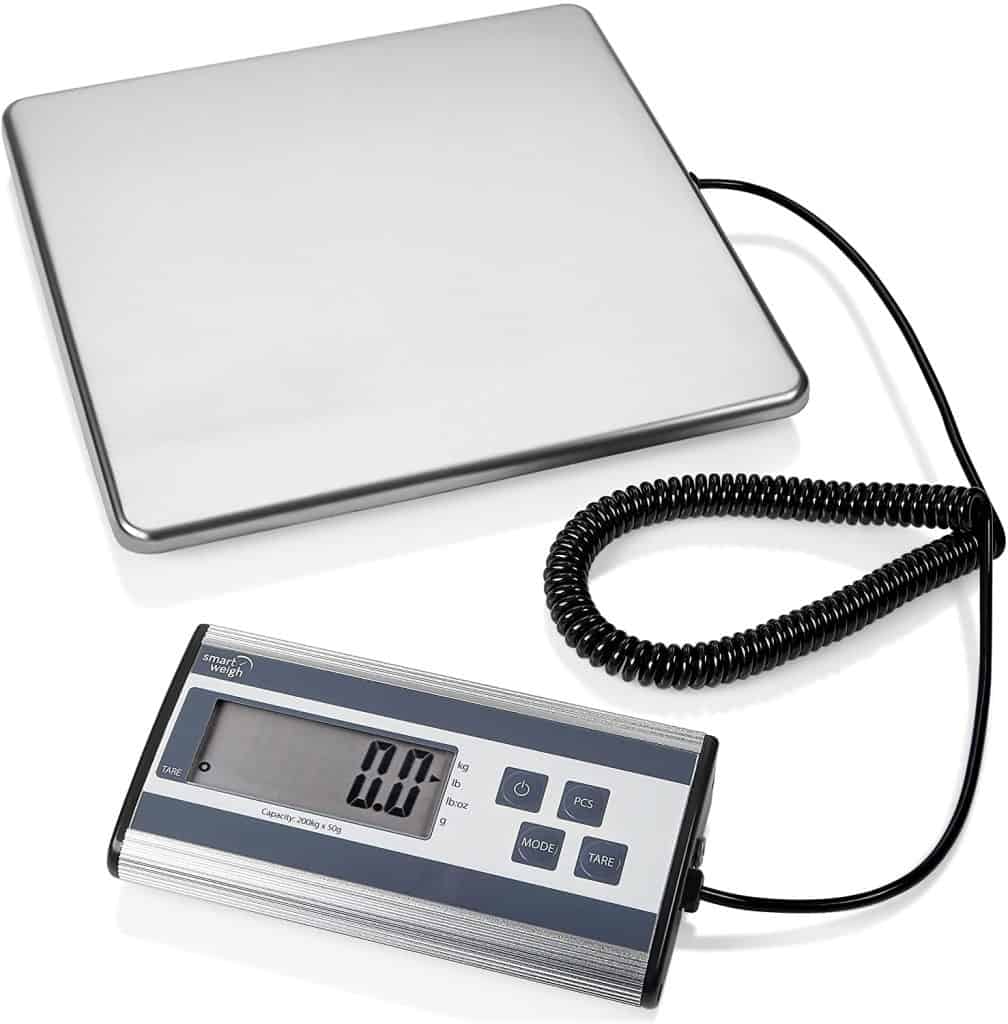
Once you have the shipment packed up, you weigh it and measure the box. Input those numbers on the shipment form in Seller Central and Amazon will calculate the shipping cost and you can print the labels and secure to your box. The shipment price will come out of your Amazon seller account in the fees area.

What Happens When Your Inventory Arrives at the Warehouse:
Once your inventory gets to the Amazon warehouses, 1 of 2 things can happen. It will show as active and available, or you might see it in the “Reserved” column of your Manage Inventory page. If it’s in Reserve, it’s likely that Amazon is transferring it to another warehouse.
You can see this by clicking on the number. Transfer is frustrating, as it will show up on the Amazon page for sale, but usually as a backorder so you might not win the buy box. It happens all the time, so don’t let it get to you. It will eventually make it to the warehouse and be active and available.
The other “Reserved” status you might see is Customer Orders or Processing, which is Amazon shipping out the customer order. Both of these are GREAT!
Getting Paid:
Amazon will send you back your profits every two weeks to the bank account you have on file. As long as you have a positive balance (meaning your profits are more than your amount owed to Amazon for fees and commissions) you can expect this to happen.
Since starting to sell via Amazon FBA two years ago, the only time Amazon charged my credit card on file was the first month of selling. I have a PRO account which is $39/month and I didn’t have any sales in yet to cover that cost. There is also a free seller account you can use to get started and switch over to PRO later.
The amount they send you back will not be all profit when you start out. Say you spent $500 on the cost of inventory, shipping, trainings, and supplies to start. Your first payout might be $400 from Amazon. I take that money and put it back into the business, buying $400 of inventory to send in. Then the next payout is $600, I continue to take that money and put it back into more inventory to grow the business.
You want to continue to put in more profitable inventory so you can continue to get larger payouts. The goal is to get to where your payouts are large enough to cover your startup $500, plus whatever you need to keep your inventory running, and have money left over. This is when I began to take my profits out and pay myself. I did this on my 4th month of selling.
Want to Know More!?
This is just a quick overview of the Amazon FBA Retail Arbitrage model. For more in depth training videos and answers to all your questions along the way, I HIGHLY RECOMMEND the Beginner FBA Course.
BONUS: If you purchase the Beginner FBA Course through my affiliate link, you will also get FREE access to my Beginner FBA Course Facebook group and my guide to Amazon Ranks. Both of these combined with the Beginner FBA Course trainings will have you up and making a profit in no time!
*If you are looking to get ungated quickly in topicals, health & beauty, grocery, toys, premium brands and more check out my guides HERE.
Sign up for my Newsletter and Stay up to Date on All Things Amazon Selling!
*BOLO Group access will be granted 30 days after payment to The Selling Family is complete.