Amazon FBA Step By Step: Retail Arbitrage 101 For Beginners

Are you curious about how to make money on Amazon FBA? Amazon retail arbitrage can be a great side hustle, or you can turn it into a six figure business like I did. It can be intimidating to start retail arbitrage for beginners. How do you know which items to scan? How do you create and pack shipments correctly? In this post, I break down Amazon retail arbitrage 101 by walking you through a day working with Amazon FBA, step by step. 

It’s actually inexpensive and easy to kick off an FBA business. Learning how to make money on Amazon FBA is a combination of art, strategy, and data. The most effective way to learn is by understanding other sellers’ processes, then trying your own. If you want to follow along with me from the store to shipment, check out the video version of this post on YouTube. Or, jumpstart learning how to sell on Amazon with my Beginner FBA Amazon Selling Course.

What is Amazon FBA?

Before we head to the store, let’s quickly review for the newbies: how does Amazon FBA work? FBA stands for “Fulfillment-By-Amazon.” Any business can use this Amazon program to fulfill their customers’ orders. Sellers simply send their products to an Amazon warehouse. Then, for a fee, Amazon stores the inventory until a customer purchases from the Amazon listing. Amazon then ships the product directly to the buyer and manages customer service.

While many businesses utilize FBA to sell their proprietary products, I use Amazon FBA to manage my retail arbitrage business. Retail arbitrage is purchasing lower cost items from one retailer (like Walmart or Target) then reselling them for a profit on Amazon where there is higher demand for the product.

I also utilize Amazon FBM for my retail arbitrage business, which stands for “Fulfilled-By-Merchant.” This is the same process, but instead of sending my inventory to Amazon, I ship the product directly to the customer when it’s purchased.

Amazon FBA & Retail Arbitrage FAQs:

  • Is retail arbitrage legal on Amazon?: Yes, a retail arbitrage business is legal. Check out this video for more details on this answer.
  • Does retail arbitrage still work?: Absolutely. In fact, I see beginners making more profit now than when I started, sometimes as much as $10,000 in their first month! It’s amazing what you can profit with some hustle.

Now that we have a basic understanding of Amazon FBA, FBM, and retail arbitrage, let’s start sourcing!

Step 1: Retail Arbitrage Sourcing - What to Sell On Amazon FBA

Where to Source

I source many of my products from Walmart, but also visit Target, HomeGoods, Kohls, Ross, Home Depot, and others. When I arrive, I start scanning products’ UPC barcodes with the Amazon Seller App (iTunes | Google Play). The app is free, and it’s tied to your Amazon Seller Account. The app tells me how much the product sells for on Amazon, the number of sellers for that product, Amazon Sales rank number, and associated FBA fees. I evaluate this information and compare it to the price at the store to determine if I could make a worthwhile profit. I sometimes use additional software and websites, such as Keepa and JungleScout, to help make my decision. Click here for my full list of Amazon FBA software tools.

The most common departments I source from in any store are the clearance, toy, and seasonal aisles. I’ve had great finds in most departments, but I always start in these three categories. I scan what catches my eye, but I also arrive prepared with a list of potentially profitable items from my BOLO group.

Gated Categories

New sellers may struggle because they are gated for some categories or big brands. If the app says you’re gated, always click through the screens because there’s a chance you can get instantly approved to sell the item. If you’re super frustrated with too many gated items, check out my ungating guides to quickly get approved to sell these high profit items.

retail arbitrage sourcing

What are the best retail arbitrage items?

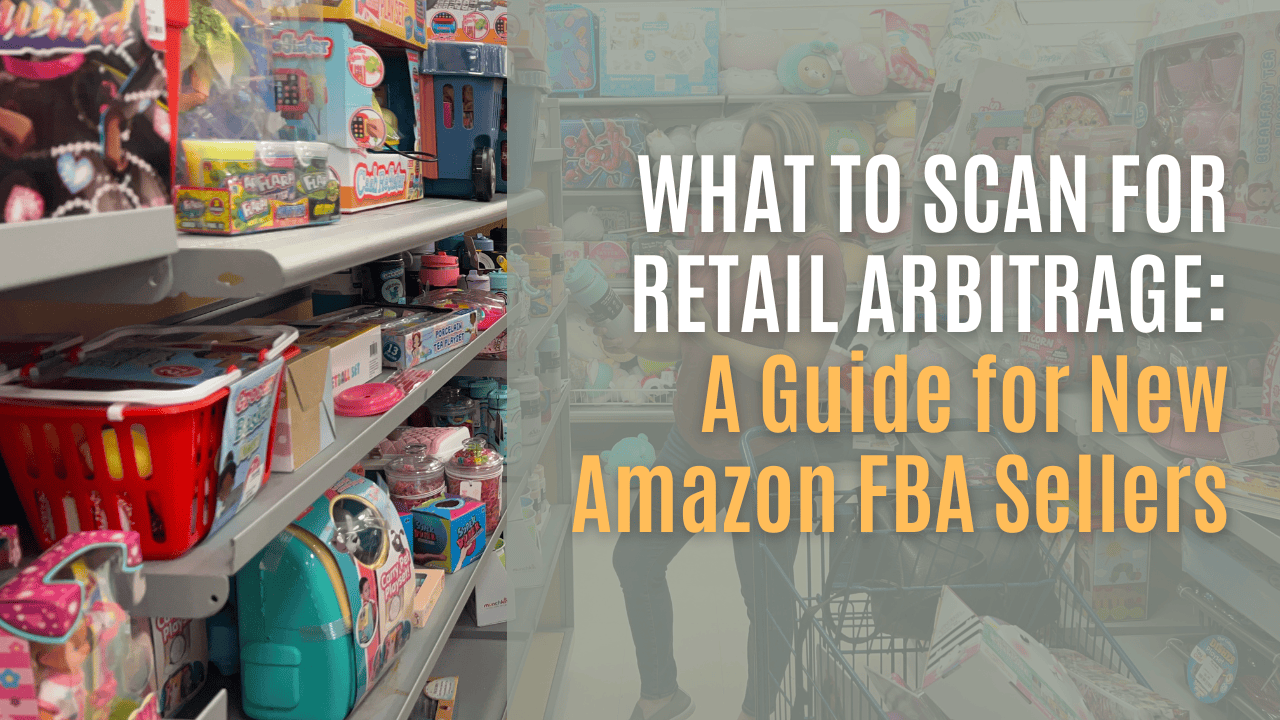
Learning what to sell on Amazon FBA takes some trial and error. Even expert sellers may vary on which are the best retail arbitrage items. Here are five examples of potential items I found during my sourcing day, and my logic for why I did or did not purchase them:

example gamesExample 1: Classic board games

While scanning board games, I discovered a $50 Amazon bundle listing for three Hasbro games: “Chutes & Ladders,” “Candyland,” and “Hi Ho! Cherry-O.” Walmart was selling the games individually for a total of $21 for all three games, about a $15 profit for me. So I purchased each of the three games and will bundle them in a polybag to ship. The sales rank for the bundle was a little high, but I went forward with the purchase anyway because the holidays were coming up.

example toysExample 2: Toys from “The Mandalorian” show

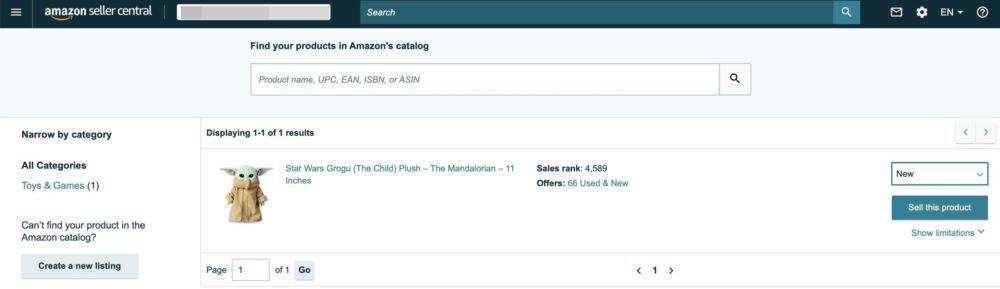
I always scan items if they’re merchandise for a hot show or movie. However, I will only buy the item if I can sell and profit right now. I personally do not purchase based on a prediction that the Amazon price will increase soon. In this case, my scan of some Mandalorian toys revealed that I would not get a good ROI at the moment. Even though I knew there was an upcoming season of the show, and baby Yoda is undeniably adorable, I did not purchase them.

example dollExample 3: Barbie doll

I found a $8 Barbie doll selling for $16. However, I chose not to purchase because there were lots of them on the shelf. That indicated to me that supply for the doll was high, so the price may go down. In contrast, if I found Barbies for the same profit that was more unique, I would buy them. They are likely to sell instantly.

example canning
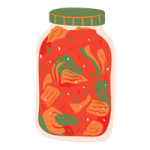
Example 4: Canning item

My winning item of the day was a canning supply. I listed the item on FBM while I was in the store and they all sold before I even got back to the parking lot. When I got home, I packed and shipped them for a $50 profit in only 15 minutes. I won’t share here what exactly the item was, but you can join my BOLO group for tips on profitable items like this one.

example gardenExample 5: Garden stakes

I found $2 garden stakes that would net me $9.62. There were several on the shelf, but I didn’t want to buy too many and have them sit in inventory. To decide how many to purchase, I used JungleScout to estimate the number of sales per month. The Amazon Seller app said there were three other FBA sellers for the item, so dividing the estimate by four sellers (including me), I could expect to sell 250 per month. Since this is a seasonal item, I also checked Keepa to learn when I could expect the sales volume for the item to decrease. Based on the information, I decided to purchase four of the stakes.

More Retail Arbitrage Sourcing Tips

  • Is Amazon no longer ungating sellers?: No, new sellers are still getting ungated. Use my Ungating Guides to learn how to get ungated.
  • Keep the receipt, you can always change your mind later if you’re unsure of an item’s profit potential.
    Scan items on shelves that look picked over, that’s an indicator that they’re in demand.
  • Check the quantities on the listing, and carefully compare the item details to make sure it’s an exact match, and not a variation. This is especially relevant for grocery and topical items.
  • If you’re buying a lot of an item, always check the top shelf. There may be more product there.

Step 2: Create the Amazon FBA Shipment

When you return from the store, it’s time to create your shipments. Go to your Amazon seller dashboard on your laptop, and click “Inventory > Add a Product.” Then I use a laptop scanner to start adding products to my inventory. You can manually type the UPCs if you’re not ready to invest in a scanner, but it saves a lot of time. If for some reason the UPC isn’t coming up, you can type in the ASIN.

Once I scan the item it pops up. Click “Sell New” > “Sell This Product.” Now, it’s time to enter the seller information:

Seller Information Fields

  • Seller SKU: I make up my seller SKU so it contains information about where I bought it, the item cost, and breakeven price for easy reference later.
  • Sell Price: I use RevSeller to take all the costs into account when I set my price. Sometimes I list it a bit high so I don’t miss any potential profit if the price goes up before I send the product into Amazon.
  • Condition: Select “New.”
  • Fulfillment Channel: Choose FBM or FBA. I usually fulfill by FBA, but sometimes I will make more profit via FBM if it’s a small item that I think will sell immediately.
  • Click “Save and Finish.”
  • Barcodes: I always use Amazon barcodes to ensure it goes to as few warehouses as possible, here’s why.
  • Required Product Information: Click the radio buttons with the required product information as it applies, and click “Submit.”
  • Number of units: Enter how many of the item you are adding to your inventory.

Now, add the rest of the items to your shipment plan and hit “Continue” to finish the shipment. Under prep guidance, click “apply to all” to learn if any of your items require special prep. Next, print your labels. I simply use address labels and a laser printer. To learn about RevSeller, the labels and printer I use, and the other tools I use to create my shipments, check out “15 Amazon FBA Tools To Take Your Retail Arbitrage Business to the Next Level.”

Example "Sell this Product" page on Amazon Seller Central

Step 3: Amazon FBA Packaging

Finally, it’s time to pack the shipment to send to Amazon. For further details on how to pack your shipment, check out my video “How To Pack an Amazon FBA Shipment for Retail Arbitrage.”

Remove Labels

All the store’s pricing labels must be removed. I apply a little heat with a hairdryer and then peel the label off with a Scotty Peeler. If there’s any sticky residue left, you can take care of it with Goo Gone.

Polybag and Seal

If you can touch even part of a product, it needs to be polybagged. You do not need to polybag items that are completely within a box or sealed bag. I use Spartan polybags. I also use clear circle stickers to add an extra seal to boxed items so it’s clear that they’re new and unopened. If you’re bundling an item, like the board games I mentioned earlier, just put all of the items in a bundle in one polybag and add a “do not separate” sticker to the bag. Finally, put your printed label on either the product or polybag, covering the UPC.

Box and Ship

Finally, pack your shipment in boxes to send them to Amazon. You can use any kind of box, new or used. Make sure your shipment boxes aren’t longer than 25 inches on any side, and do not use boxes with any alcohol or fireworks labels. If I need new boxes, I purchase them from Walmart. Use a scale to weigh the boxes, print shipping labels, then drop them off at the post office. You’re all done – congrats!

Step 4: Profit, How to Make Money on Amazon FBA Step By Step

Now, the best part! Watch your items sell and collect the profit. This step is completely passive and requires no work for FBA. Remember, for FBM, you need to ship the item to the customer yourself when it sells. Here are some sample profit numbers for the small shipment I created throughout this blog post.

Remember, I profited $50 in 15 minutes from the FBM canning items that sold before I even left the store. Here is the ROI breakdown for that specific item:

  • Total cost per unit = $18.94
    • Item cost: $9.75
    • Amazon fee: $4.63
    • Shipping postage cost: $4.08
    • Shipping envelope: $0.48
  • Amazon sale price was $29
    • Profit per unit = $10.06
    • x 5 of these items = $50.30 total profit

Here are the total profit numbers for this small shipment:

  • 36 items in this shipment
  • Took 1.5 hours to source
  • Overall sourcing, prepping, and packing took 5 hours. That also included me shooting video for my YouTube channel, so it would otherwise take less time.
  • Total costs for the items, shipping, and fees = $320
  • When all the items are sold, the revenue will be $606
  • Total profit = $286 for half a day of work

I hope this Amazon FBA step by step gets you started! I’m here to help. Come source with me! Check out my YouTube channel to follow more of my sourcing trips. Or, jumpstart your business with my Ungating GuidesBOLO groups, and Beginner FBA Amazon Selling Course.

Follow along in the video version of this Retail Arbitrage 101 post:

You Might Also Like: